Everyone's talking about how cold therapy can change your life. But making a DIY Cold Plunge might seem scary. Don't worry, we'll show you how it can be fun and rewarding. It's like bringing the spa to your home but adding a personal challenge. You can make your place a spot for that cool dip you want. Let's dive into making your own cold therapy spot at home. We'll explore how to enjoy making your cool retreat.
Key Takeaways
- Building a cold plunge at home can be a simple, invigorating project with numerous health benefits.
- Key considerations include water chilling methods, filtration, and selecting the right basin or tub.
- A homemade cold plunge provides both cost savings and customization opportunities.
- Implementing your DIY Cold Plunge demands careful planning and attention to detail.
- With the proper setup, your cold plunge can become a daily refuge for resilience and rejuvenation.
- Understanding the basics is the first step towards an energizing cold therapy experience in the comfort of your home.
Understanding the Cold Plunge Phenomenon
The wellness community loves the benefits of cold plunges. This mix of health trends and old practices has grown in popularity. Now, it's not just an exciting spa activity but a daily health ritual for many.
The main attraction is how simple it is and the energizing feeling afterward.
Exploring the Growing Trend of Cold Therapy
It's not only top athletes trying this, but people from every background. They all seek cold plunge tips to make it part of their lives. This has created a community that shares cold plunge strategies and stories.
They talk about how facing the cold improves their mental strength and endurance.
Jumping in: The Mental and Physical Benefits
Cold plunges are more than just a trend; they have real benefits. Many believe they help reduce inflammation and boost circulation. They also build mental toughness to face the day.
Regularly facing the cold can lead to a meditative state for some. This helps build strength to deal with daily stress.
Those who try it feel a big impact on their health. Cold therapy becomes a key part of staying healthy. It helps people face challenges and work on becoming stronger and more energetic.
How to Build a Cold Plunge at Home: DIY Tips and Tricks
Starting a DIY Cold Therapy project at home is popular among health lovers. Making a homemade Cold Plunge is not just cool. It helps your daily health habits. We will give you great tips to begin this cool journey.
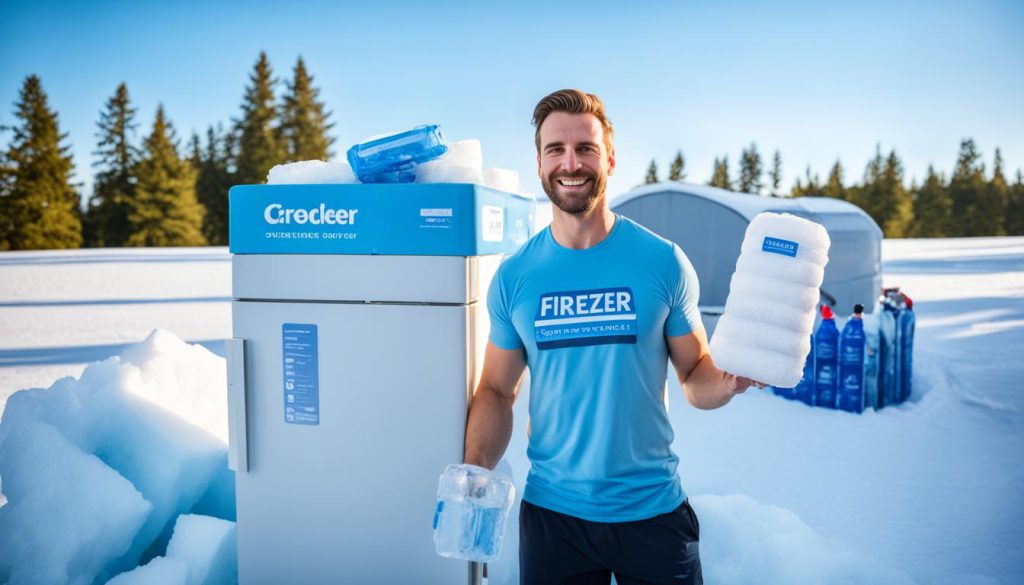
Want a real cold plunge instead of just ice baths? Think about upgrading. You can turn a big cooler or chest freezer into one. You'll need a strong water chiller, a filter, and a good pump.
- Choose a well-insulated container: Pick coolers or converters that keep the cold well.
- Opt for a trusted water chiller: It keeps the water cold enough for a good plunge.
- Install a quality pump and filter: They help keep the water clean and moving right.
Doing your own Cold Plunge Installation lets you make it just right for you. Here's a table showing different ways to set it up and what you need for each:
| Method | Description | Key Components |
|---|---|---|
| Chest Freezer Conversion | A strong, sealable choice for chilled water. Needs special lining. | Freezer, Silicone Sealant, Water Pump |
| Cooler Integration | Uses coolers to keep temperature right, with less ice needed. | Insulated Cooler, Ice Packs, Thermometer |
| Bathtub or Shower | Easy method using what you already have, for a quick cold dip. | Shower or Bathtub, Ice, Drain Cover |
A Homemade Cold Plunge is about building a space for daily strength and refreshment.
Finally, making a Homemade Cold Plunge can be more than just a project. It shows your commitment to wellness. See this DIY Cold Therapy as a chance to add cool energy to your life.
Choosing the Right Materials for Your Homemade Cold Plunge
When making a DIY cold plunge, picking the right Cold Plunge Materials is key. You need a basin, which is the main part. You can choose from chest freezers, stock tanks, or coolers by Grizzly and Yeti. These offer different Basin Insulation, lasting power, and prices.
To stop leaks in freezer mods, you need good sealants like JB Weld Water Weld. Also, pond liners help avoid leaks and damage. For cooling the water, a strong Water Chiller is a must. Brands like Active Aqua and Penguin are great for keeping the water cold.
Also, a good pump is important for moving water well. This helps keep the temperature even and the water clean. The Danner Mag-Drive pump is known for being strong and working well with chillers and filters.
Knowing about the different materials is crucial for your DIY project's success. Here is a guide to compare them:
| Material Type | Insulation Quality | Cost | Durability | User-friendliness |
|---|---|---|---|---|
| Chest Freezer | High | Medium | High | Requires modification |
| Stock Tank | Medium | Low | Medium | High |
| Grizzly/Yeti Coolers | Very High | High | Very High | High |
In the end, choose what fits your needs best. Maybe you want the best Basin Insulation or the best price. What you pick will make your cold plunge great for many uses.
The Step-by-Step Process for Cold Plunge Installation
Starting a DIY Cold Plunge Installation is fun and can make your wellness routine better. First, plan how you want the area to look.
Planning Your Cold Plunge Layout
Think about where to put your cold plunge. Consider the size and if you need thermal covers. Good insulation and a cover keep the heat in. This makes your cold plunge use less energy. 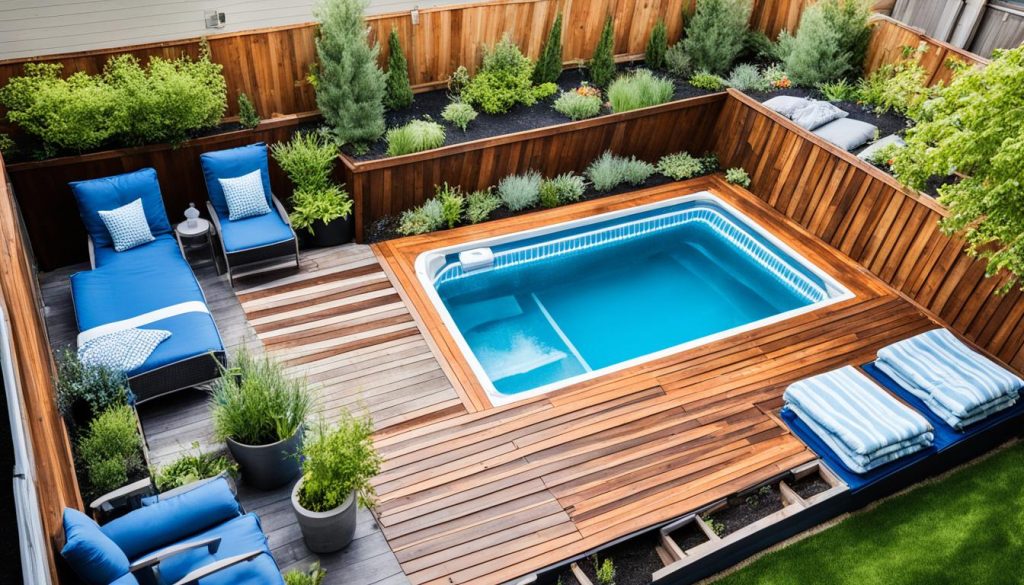
Detailed Guide to Assembling Your Cold Plunge
When putting together your Cold Plunge, you will use different Plumbing Fittings. Each one is important for a set-up that works well and lasts. Use a detailed parts list to help you set up easily.
| Component | Description | Application |
|---|---|---|
| Water Chiller Unit | Device to cool the water | Maintains temperatures consistently low |
| Circulation Pump | Ensures water movement | Prevents stagnation and aids in filtration |
| Filter System | Removes contaminants | Keeps the water clean and clear |
| NPT Plumbing Fittings | Connectors with national pipe threads | Essential for secure piping connections |
| Insulation Materials | Insulative wraps or foams | Preserves cold temperature within the tank |
| Waterproof Sealant | Prevents leaks | Applied to joints and potential leak points |
Enjoy making your cold plunge your own. You can change tube sizes or add more hose fittings. Success in DIY Cold Plunge Installation means it works well and feels special to you.
Efficiently Cooling Your DIY Cold Plunge
To set up a good cooling system for your DIY cold plunge, learn some cold plunge tricks. You also need to know how to keep the water cold in the best way. Using ice might work at first, but machines that cool the water are better for keeping it cold all the time. These machines are handy and save energy, making your plunge exciting and cheap.
Ice vs. Mechanical Chilling Systems
Using ice in your cold plunge is simple, but it's not good for every day. Instead, machines like the Active Aqua 1/4 HP chiller are a better choice. They keep the water at the right cold level and adjust for the weather. This means no more adding ice all the time.
Insulation Tricks to Maintain Low Temperatures
Good insulation is important to help your chiller work better. Using the best coolers and other insulation tips can save energy and keep the cold longer. This makes things more efficient and cheaper, showing how smart cold plunge tricks are worth it.
Below is a table showing how different insulations compare:
| Insulation Material | Temperature Maintenance | Energy Efficiency | Cost |
|---|---|---|---|
| Standard Cooler | Good | High | Low |
| Professional-grade Cooler | Excellent | Very High | Medium |
| Foam Board Panels | Fair | Medium | Very Low |
| Reflective Bubble Wrap | Fair | Low | Low |
| Insulation Spray Foam | Excellent | High | High |
The table shows that what insulation you use matters a lot. Both for keeping a steady cold in your plunge and for cutting down on costs. With the right choices, your cold plunge can be cool and not waste much energy. This is how to make the best energy-efficient chilling setup.
Maintenance and Sanitation of Your Cold Plunge
Keeping your cold plunge clean does more than just make it look good. It ensures it’s safe and lasts a long time. A water filtration system is key to keeping it fresh. Regular sanitation practices also stop harmful germs from growing. This makes every plunge safe and enjoyable.
Choose a filter that can deal with the outdoors. Cold plunges can get dirty with leaves, bugs, and more. A good filter for homes is the Culligan HF-360B. Using the right filters and cleaning often keeps the water clean and clear.
| Maintenance Task | Frequency | Details |
|---|---|---|
| Water Filtration Check | Weekly | Examine and clean filters to ensure proper operation and water flow. |
| Water Quality Test | Bi-Weekly | Perform pH and sanitizer level tests to maintain water balance. |
| System Flush | Monthly | Drain and refill the plunge to refresh the water, reducing the need for chemicals. |
| Deep Clean Surfaces | Monthly | Scrub the basin to remove any biofilm or residue buildup. |
Make sure your cold plunge is easy to keep up. Things like drain valves help change water quickly. Easy access to filters makes them easy to swap out. These steps help your cold plunge last longer and stay more enjoyable.
Consistent maintenance keeps your plunge clear and peaceful.
Good sanitation practices stop algae and bacteria from growing. They keep your cold plunge safe and healthy. Remember, it’s more than just water—it helps you stay strong and well.
Comparing DIY Cold Plunge to Commercial Options
Making a cold plunge at home or buying one are big choices. They can affect your Cold Plunge Budget. They also impact the long-term joy and benefits of cold plunging. Let's look at the costs of a DIY cold plunge. We will also compare its pros and cons to commercial ones.
Cost-Effectiveness of the DIY Approach
Choosing the DIY way can save money. It's for those ready to spend time and effort on their own system. It lets you decide on materials and design. This way, it can fit your needs and the space you have.
Pros and Cons: DIY vs Pre-Made Plunges
We will now look at the good and bad sides of DIY vs Commercial Cold Plunge. Knowing these can help you decide. It depends on what you want from a cold plunge and your way of living.
| DIY Cold Plunge | Commercial Cold Plunge | |
|---|---|---|
| Upfront Cost | Typically lower with more room for budget adjustments | Higher due to integrated technologies and quality materials |
| Customizability | High, adaptable to individual preferences and spaces | Low to moderate, with preset designs and features |
| Installation | Requires time and DIY skills | Typically quick, professional setup available |
| Maintenance | Varies with self-designed systems, might require troubleshooting | Often includes customer support and instructional guidance |
| Operational Temperatures | Dependent on chosen materials and chilling mechanism | Often lower and more consistent due to advanced chilling systems |
| Long-term Value | Potential for long-term savings if well-maintained | Depreciates with time but often includes warranty and service |
With these points on DIY vs Commercial Cold Plunge, think about costs now and later. Making your own cold plunge can be fun and rewarding. However, buying one offers fast results and reliable tech.
Creative Ideas for an Inviting Cold Plunge Space
Imagine your home wellness area with a cold plunge pool. It's more than just health benefits. A attracting cold plunge design should draw you in visually and feel peaceful. Creativity and function create a space for you to feel refreshed and motivated.
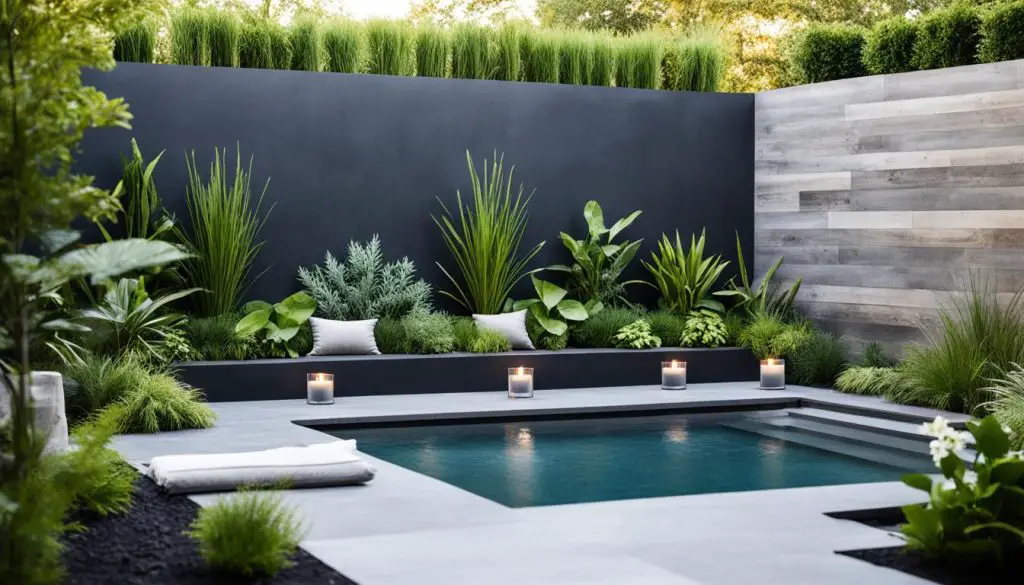
Enhancing your cold plunge area means adding design touches that reflect you. These touches uplift and prepare you for the cold plunge. They are not just for looks but enrich your spirit too.
- Place your pool where natural light or indoor plants can surround you, connecting you to nature.
- Add hidden water lines or discreet sprinklers for seamless function and design.
- Put in something fun or meaningful to you, like art or rubber duckies.
- Choose materials that match your home's style, from elegant tiles to earthy stones.
Designing a cold plunge installation means thinking about the feel of the space too. A home wellness area should appeal to both sight and spirit. Here's a table comparing important design elements for a welcoming attracting cold plunge design.
| Design Element | Functional Value | Aesthetic Impact |
|---|---|---|
| Ambient Lighting | Creates mood, aids in visibility | Enriches environment, enhances focus |
| Integrated Water Systems | Simplifies usability, maintains cleanliness | Presents a clean and uncluttered space |
| Natural Textures | Brings an organic touch, adds warmth | Invokes calm, promotes relaxation |
| Personal Accents | Reflects individuality, increases comfort level | Adds character, invites engagement |
Mix practical with personal to make your space work and show your style. This commitment to wellness and unique design will shine through.
Conclusion
Making a DIY Cold Plunge at home is a great idea. It lets you make your wellness practice fit you perfectly. Plus, it's a fun project that's good for your body and mind. Each step, from picking strong materials to figuring out how to keep it cool, matters. It turns into a special place for cold therapy.
Building it, you learn a lot and make the plunge better step by step. It's not just a pool for cold dips. It shows how much you care and work hard. Every detail matters in making it just right. Think about all the careful choices you made to create your own special spot.
In the end, making a cold plunge yourself is really smart and tough. It's for people who want something special in their life. It could be for sports, feeling clear-headed, or just feeling good all over. Your own cold plunge is waiting for you. It's ready to make you feel fresh and alive.


